In any photography entusiast’s life there will come a time to try new things, like a flatlay? Maybe you’ve been passionate about underwater photography your whole life, or maybe you’ve been into portraits, but now you came to a point when you need or want to learn the new trend called flatlay!
Flatlay is a picture taken from above, in which you present exactly what the name says: laying your objects flat. The creative way to do a flatlay is to put random things together on a planned background, organize them in a clean or messy way, depending on your objective and just shoot the photo from above.
But we’re also here to give you some tips an tricks, no matter if you’re a photographer, blogger, store owner, social media manager, photography fan or student.
The planning of a flatlay
Objective
Begin with planning your flatlay. Think what is the objective of your flatlay? Is it to promote a product, to inspire or to sell it? Once you decide the purpose it’s easier to look forward on the next steps.
 Channel
Where will it be used? Social media – in which case, which one? – a blog post, a magazine? By defining the channel where your flatlay will be published, you also define the size, the arrangement of the props, the re-sizing opportunities for the different uses of the image, in the case you want it viral.
Props
Based on the fact that you know the above, now you can choose your props. If you promote a product, then you’ll need to find props to fit the imagery, but stay in the brand lines, and most importantly that are not competing with the product. Also, you must go through the props with the brand manager so you eliminate the risk of having any issues.
Scenery
Colours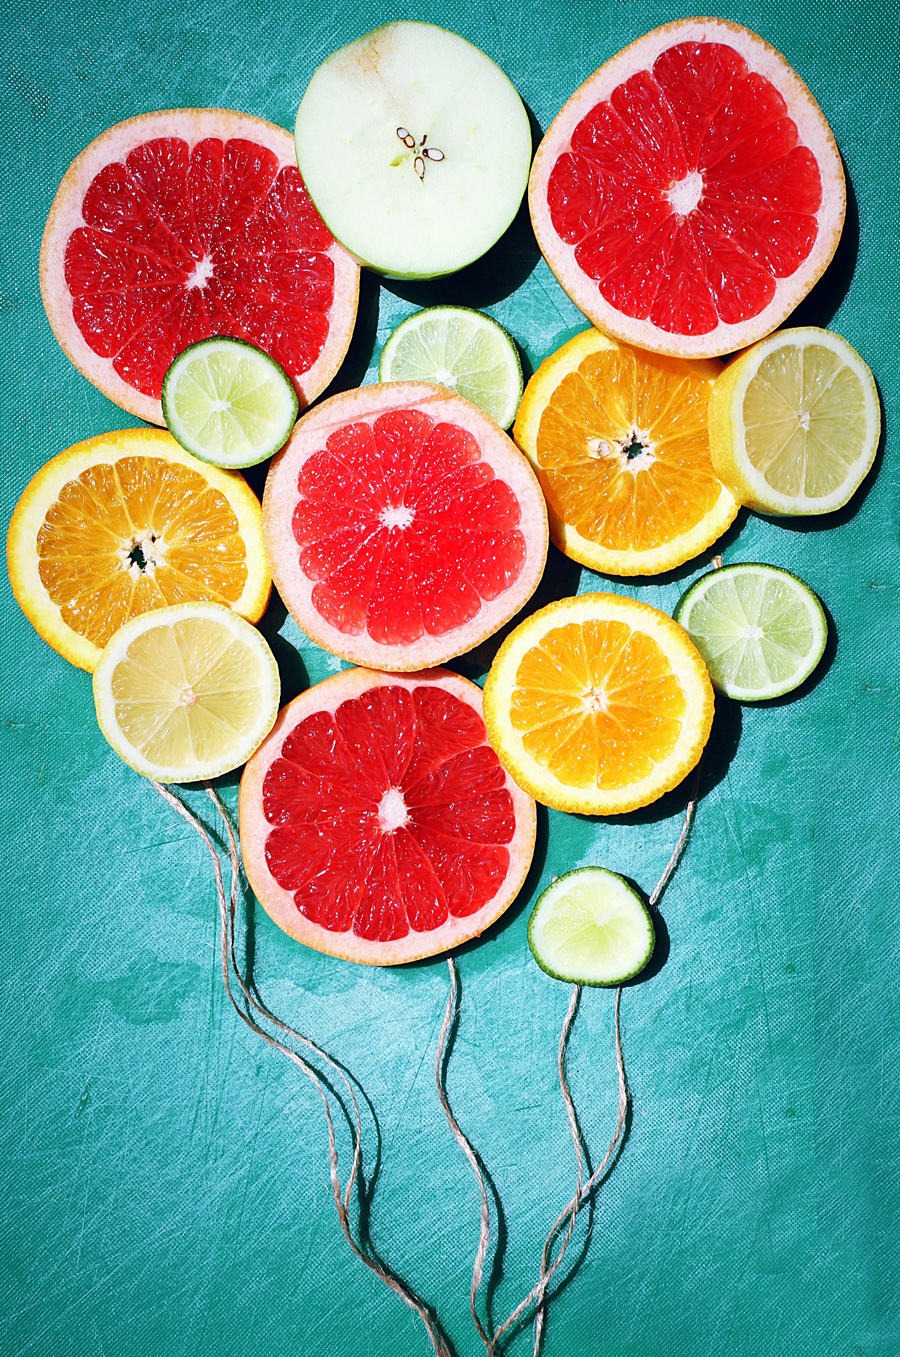
A flatlay is at its best when all the objects in it are either relevant or color-relevant. It’s important that you mix the colors together to get an image full of contrasts and a mix of textures.
Light
The best way to shoot is at natural day light, with the light behind your back. However, if you have the necessary equipment you can play with lights however you want. Flatlays are usually positioned on the floor, shot from above with a camera fixed on a tall stativ.
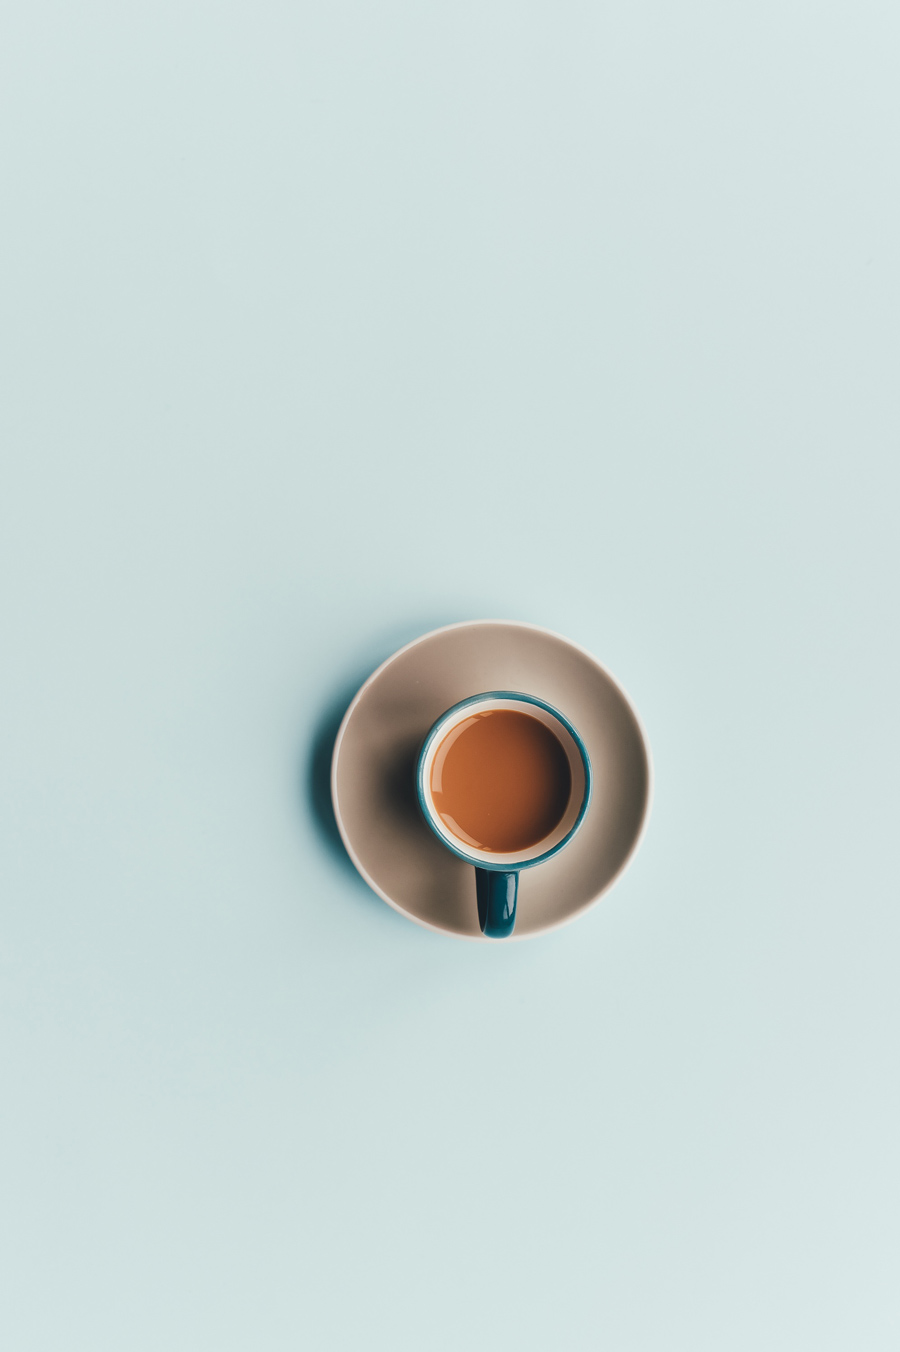
Background
You can play with colors and get creative in layout, but it’s very important you always have a background that is in contrast with the props. For example, if you have dark color objects, use a light color background. Play with textures, you can use background as the green grass, the floor, the table, you can improvise ans use silk paper or solid objects, like wood of different colors.
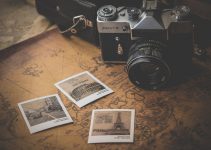
 Layout
There’s no recipe here, but keep in mind that space is OK! Some flatlays should look natural, some very organized, it all depends on your esthetic sense. But space is always OK. Try not to use more than 3-7 props, and if you do, make sure you leave space. Let the picture breath!
The most important thing is that you keep practicing until you get it right. Some may say it’s not as hard as underwater photography, but I guess they didn’t try making a flatlay of a food recipe, in a small kitchen, sitting on the furniture.